First Program
This guide will walk you through setting up your development environment and executing your first program. By the end of this tutorial, you will have a fully functional Brasa installation and a working "Hello, World" script.
Let's get started!
Installation
Prerequisites
Before proceeding, ensure you have Python 3.x installed on your system.
Installing the language
Brasa is distributed via pip (which comes with Python). Execute the following command to install the Brasa Interpreter.
pip install brasa-lang
Pro tip: If you prefer to not install globally, that is totally fine. You can always create a virtual environment to use the language locally.
Verification
To confirm whether the installation was a success, initialize Brasa Interactive Environment (REPL) by typing:
brasa
If the installation was successful, you should see the following interface:
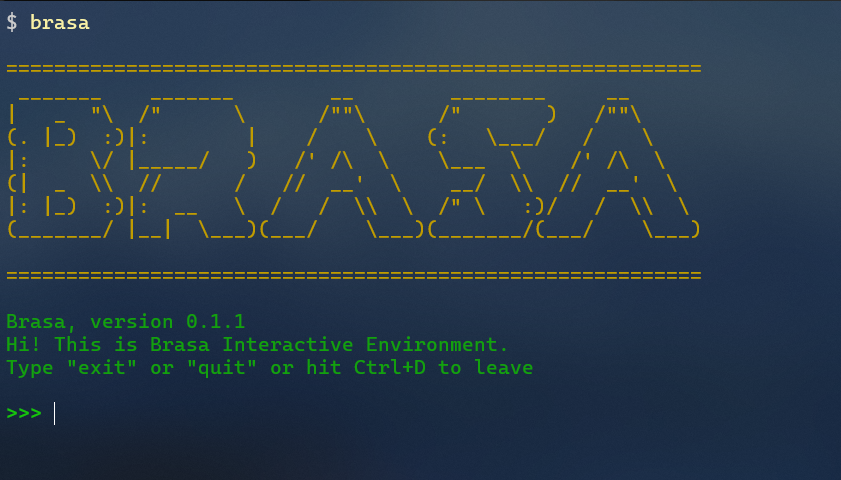
If this shows up, your system is already set for running Brasa Code.
Editor Setup (Recommended)
To get the most out of Brasa, we recommend installing Visual Studio Code and adding the Official Brasa Language Support Extension. This provides essential features such as
- Syntax Highlighting
- Code Snippets
- Code Completion
With the extension active, your experience with .brasa files will be much more ejoyable.
While you can write Brasa in any text editor, the Brasa VS Code extension offers a superior development experience and makes debugging significantly faster.
Writing your First Program
Brasa source files use the .brasa extension. Follow these steps to create and execute your first script.
Create the Source File
Create a new file named hello_world.brasa and enter the following code:
// hello_world.brasa
diga("Hello, World!");
Execution
To run your program, pass the file path as an argument to the brasa command in your terminal:
$ brasa ./hello_world.brasa
Hello, World!
Congratulations: You have successfully configured your environment and executed your first Brasa Program.